Powered by Skedda: Introducing AllBooked, Skedda’s booking system designed specifically for.....

Get the booking link from the venue. It may be on their website, or you may need to contact the venue directly.
Copy the link and paste it into the address bar at the top of your browser. If a clickable link was provided, you can simply click it instead.
What happens next depends on the venue and whether you’re already signed in to your AllBooked account.
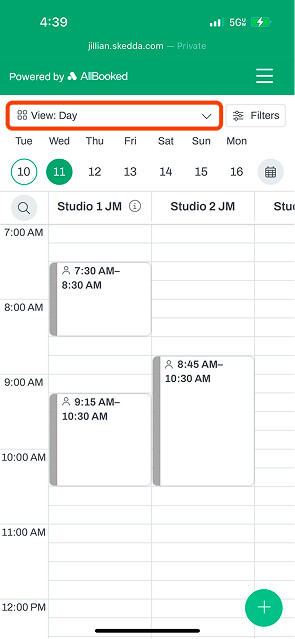
Once you’re in the venue, you’ll land on a booking view. At the top of the page, you’ll see a selector that shows which view you’re using.
.jpg)
Follow the steps below to start your booking. The steps vary depending on the booking view you’re using.
Day view
This tab shows the current day by default. Use the dropdown at the top of the screen to choose the day you want to book.
Note: In Day View, you can simply click the Plus icon in the bottom-right corner of the screen to book as well.
Map view
This tab defaults to today’s date and time and shows which spaces are available or occupied. Use the dropdown at the top of the screen to select a different day. Once your desired day is selected, review the available spaces to begin your booking.
Home stretch! Review and confirm your booking details, add any extras, complete payment if required, and finalize your reservation.
Get the booking link from the venue. It may be on their website, or you may need to contact the venue directly.
Copy the link and paste it into the address bar at the top of your mobile browser. If a clickable link was provided, you can simply tap it instead and it will open.
What happens next depends on the venue and whether you’re already signed in to your AllBooked account.
Once you’re in the venue, you’ll land on a booking view. In the upper left, you’ll see a selector that shows which view you’re using.
Follow the steps below to start your booking. The steps vary depending on the booking view you’re using.
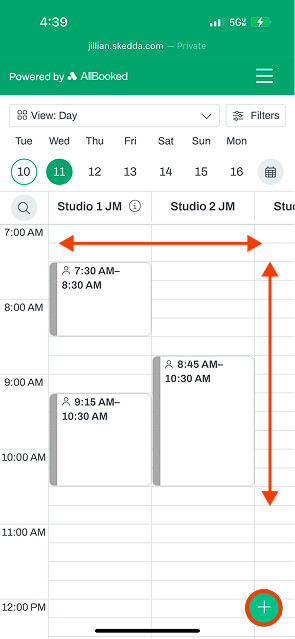
Day view
This tab shows the current day by default. Tap the day of the week or the calendar icon at the top of the screen to select a different day.
Note: In Day View, you can simply click the Plus icon in the bottom-right corner of the screen to book as well.
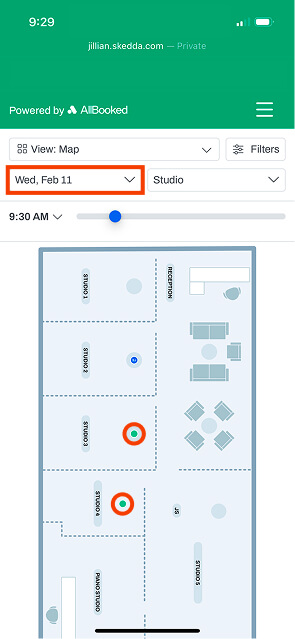
Map view
This tab defaults to today’s date and time and shows which spaces are available or occupied. Use the dropdown at the top of the screen to select a different day. Once your desired day is selected, review the available spaces to begin your booking.
Home stretch! Review and confirm your booking details, add any extras, complete payment if required, and finalize your reservation.
Some venues require extra information before booking to provide the best possible experience. If a field is marked as required, it must be completed before you can confirm your booking.
This usually happens because your selection conflicts with the venue’s booking rules. In many cases, you’ll see a message telling you why your booking was rejected.
If the venue requires payment to secure the reservation and you don’t already have a saved payment method on file, you’ll be prompted to add one before confirming.
If a venue requires check-in and it isn’t completed, the booking may be released for other reservations.
Your booking is confirmed once you see a confirmation screen after selecting “Confirm your booking.” You’ll also receive a confirmation email shortly after.
For questions about availability, pricing, or policies, contact your venue directly.