.avif)
Learning a new platform can be tricky, but it doesn’t have to be. That’s why we’ve created this step-by-step setup guide—designed specifically to help any venues with court spaces get their AllBooked venue up and running. Whether you’re a pickleball venue, tennis club, or multi-use recreational facility, this guide will help you hit the ground running.
STEP 1: The venue
To start, you’ll need to get the basics set up. Here, we’ll be adding your court spaces, setting up hours of availability, and adding your brand color and logo. Once logged in as an Owner, you’ll find all of the following tabs nested directly underneath Settings ⚙ → Your Venue.

Basics: Add your brand color + logo | Optional
Create a totally bespoke venue directly within the Basics tab. Simply enter your primary brand color and upload your logo to personalize your venue. If you don’t have these easily accessible—not a problem. Just continue on to the next step.
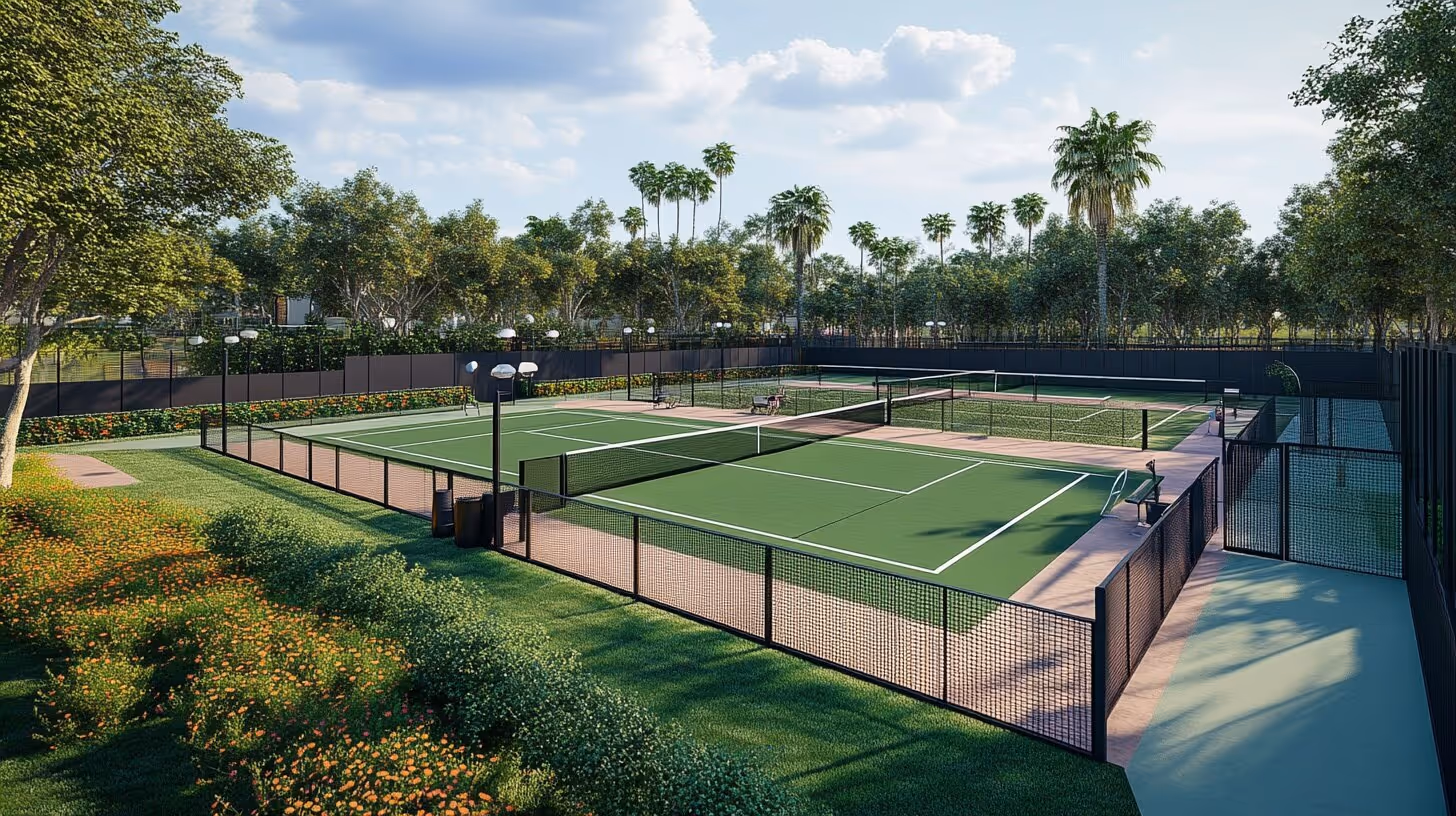
Spaces + attributes: Add your court spaces | Necessary
Here’s where the fun starts. To maximize revenue, AllBooked recommends that you offer both half and full court bookings priced differently, so you can double income by optionally making half courts available for booking. To do this, it’s important that you set up your venue correctly so that a full court can’t be booked when a half court is, and vice versa. We’ll get into how to configure those dependencies in step three, but for now, let’s lay the groundwork.
- Add a space and name it clearly. If you plan to offer both full and half courts, label the first space accordingly (e.g. Basketball: Full court).
- Set the space visibility to All users can see the space, unless you’d prefer to restrict visibility—if so, refer to this article for instructions. You can optionally add:
- A description (see template below)
- Quickly fill in your space’s details using this template, then copy and paste the completed sentence into your space’s description field: [Court space] is a [indoor/outdoor] court suited for [basketball, tennis, pickleball], with a [clay, cement, wood] surface.
- Type, Capacity, Space tags
- Visuals/images of your space
- A description (see template below)
- Add the first half court. Repeat steps 1 and 2 for the first half of the full court, naming it clearly to reflect that it’s a half court (e.g. Basketball: Half court 1)
- Add the second half court, again naming it clearly (i.e. Basketball: Half court 2)
- Add any additional bookable spaces or courts.
STEP 2: Users
Manage Tags | Necessary
Navigate to the three-person icon in the upper left-hand corner of your screen, then select manage tags on the right-hand side. From here, you can create tags to categorize your users. These tags will be used in the following steps to control bookings—such as who can book specific spaces, when they can book, for how long, and at what rates.
For example, a tennis club owner might categorize users with tags like: Coach, player, and maintenance staff.

Assign Tags | Optional
Once your tags are set up, go on to add users and assign the appropriate tags to each user based on their role. No need to do this all at once—continue on to the next step and come back to this later.
STEP 3: Booking settings
Once you’ve added your tags, you’re ready to configure booking settings. This is where you can really start taking control of your venue’s operations.
Access and visibility | Optional
Navigate to the Access and visibility tab to restrict who can see your schedule, who can make bookings, and what users can see about other users and bookings.
Space sharing | Necessary
This is one of the most important steps to ensure your full court and half court bookings function properly. AllBooked’s space sharing feature allows you to set booking dependencies, so when one space is reserved, another is blocked off.
Let’s say you have a basketball court. You can use space sharing to ensure that when the full court is booked, both half courts can’t be booked, and vice versa.
How to set it up:
- Navigate to space sharing → Add a connection
- Set the full court as the From space, and Half Court 1 as the To space.
- Click add a connection again.
- Set the full court as the From space, and Half Court 2 as the To space.
NOTE: Dependencies are bi-directional, so it’s important to keep the same From space first across applicable connections. Refer to the screenshot below for how space sharing dependencies should look.

Online payments | Optional
Although this step is optional, it’s extremely helpful to those who charge for bookings because it takes all the manual work out of payment collection, and it lets your customers pay using pre-saved credit cards and mobile wallets. For instructions on how to set this up, click here.
STEP 4: Rules
The rules section is entirely optional, but setting up just one rule is a great way to explore just how customizable AllBooked can be.
Booking conditions | Optional
This set of rules allows you to take control over your booking schedule. With Booking Conditions, you can enforce booking durations for spaces during certain times of the day, create booking blocks, and control which users have access to book specific spaces at specific times.
Pricing conditions | Optional
Pricing conditions allow you to maximize revenue and capitalize on demand by charging more for bookings during peak hours, and less during off-peak hours. Set pricing rules by user type, time of day, day of week, space, or duration to squeeze the most out of every booking.
STEP 5: Communications
Integrations | Optional
Do you use other software to run your venue—like QuickBooks, DocuSign, or Google Calendar? If so, AllBooked’s integration functionality helps automate tasks that used to take hours by triggering workflows using booking data. What might this look like in action? Let’s take a look at an example.
Trigger: Booking is made in AllBooked.
Action: DocuSign immediately sends over a waiver for your players to sign.
Result: Players receive the waiver to their inbox automatically.
With such a comprehensive list, it’s hard to believe there’s still more to discover. Click here to learn more about all the functionalities available to you in your AllBooked venue, and reach out to us at info@allbooked.com if you have any questions—we’re here to help!