Whether you’re considering giving AllBooked a try, or you’re already trialing, you’ve already taken the first step to better booking just by visiting this article. Below, we highlight four powerful features that have consistently delivered results to our customers, so you can turn what used to be a chore into more money with less work.
Create your first custom pricing rule
Sounds like a good first step, but why should you do it? We’re glad you asked. The short answer: it has the potential to earn you more—a lot more. Take one of our customers, Ritz Music Studio, as an example. They had a bunch of rooms that were sitting empty whenever lessons weren’t scheduled, and those same rooms now earn the venue upwards of £20,000 per year. At this rate, Ritz is on track to earn an additional £200,000 over the next 10 years—money that can be invested back into their business to grow it even further.
Think about what this extra cash could mean for your own venue. Not sure what the best pricing strategy is for your venue? Connect with an AllBooked expert who can help you maximize revenue for your venue.
What are pricing rules?
AllBooked’s custom pricing rules help you grow revenue according to your strategy, keeping you in control of rates, without being hands-on.
Use them to set prices for bookings by user type, time of day, day of week, space, or duration. It truly is set it and forget it—until, of course, you’d like to change them as your strategy shifts. When that happens, we’re flexible enough to adapt alongside you.
How to set up pricing rules:
- Login to your AllBooked account and click the gear icon.
- Scroll down on the lefthand side to find “Pricing rules” and click on it.
- Click “Add condition.”
- Choose from one of our ready-made templates or start with “A basic condition I can tune” and customize to your strategy.
Your progress is saved automatically, so there’s no need to worry about hitting “Save.”
For more info, check out our full how-to guide.
Test out booking from your customers point of view
Did you know that after just one bad interaction with a product, up to 61% of customers will take their business elsewhere (Forbes)? This really goes to show just how important it is to get the user experience right. With AllBooked, the reservation process is seamless. Just take it from our customer, Transition Golf, who had their second ranked five-star Google review reference AllBooked: “...the booking system deserves praise for its ease and convenience, allowing for a seamless reservation process from start to finish.”
Follow the steps below to give AllBooked a test run and see why Transition Golf’s customers love it—and why yours will too.
What makes AllBooked so easy to use?
FOR YOUR CUSTOMERS
Your customers can choose from multiple booking views, get all their questions about the space answered right in the interface, and receive a confirmation email as soon as they book.
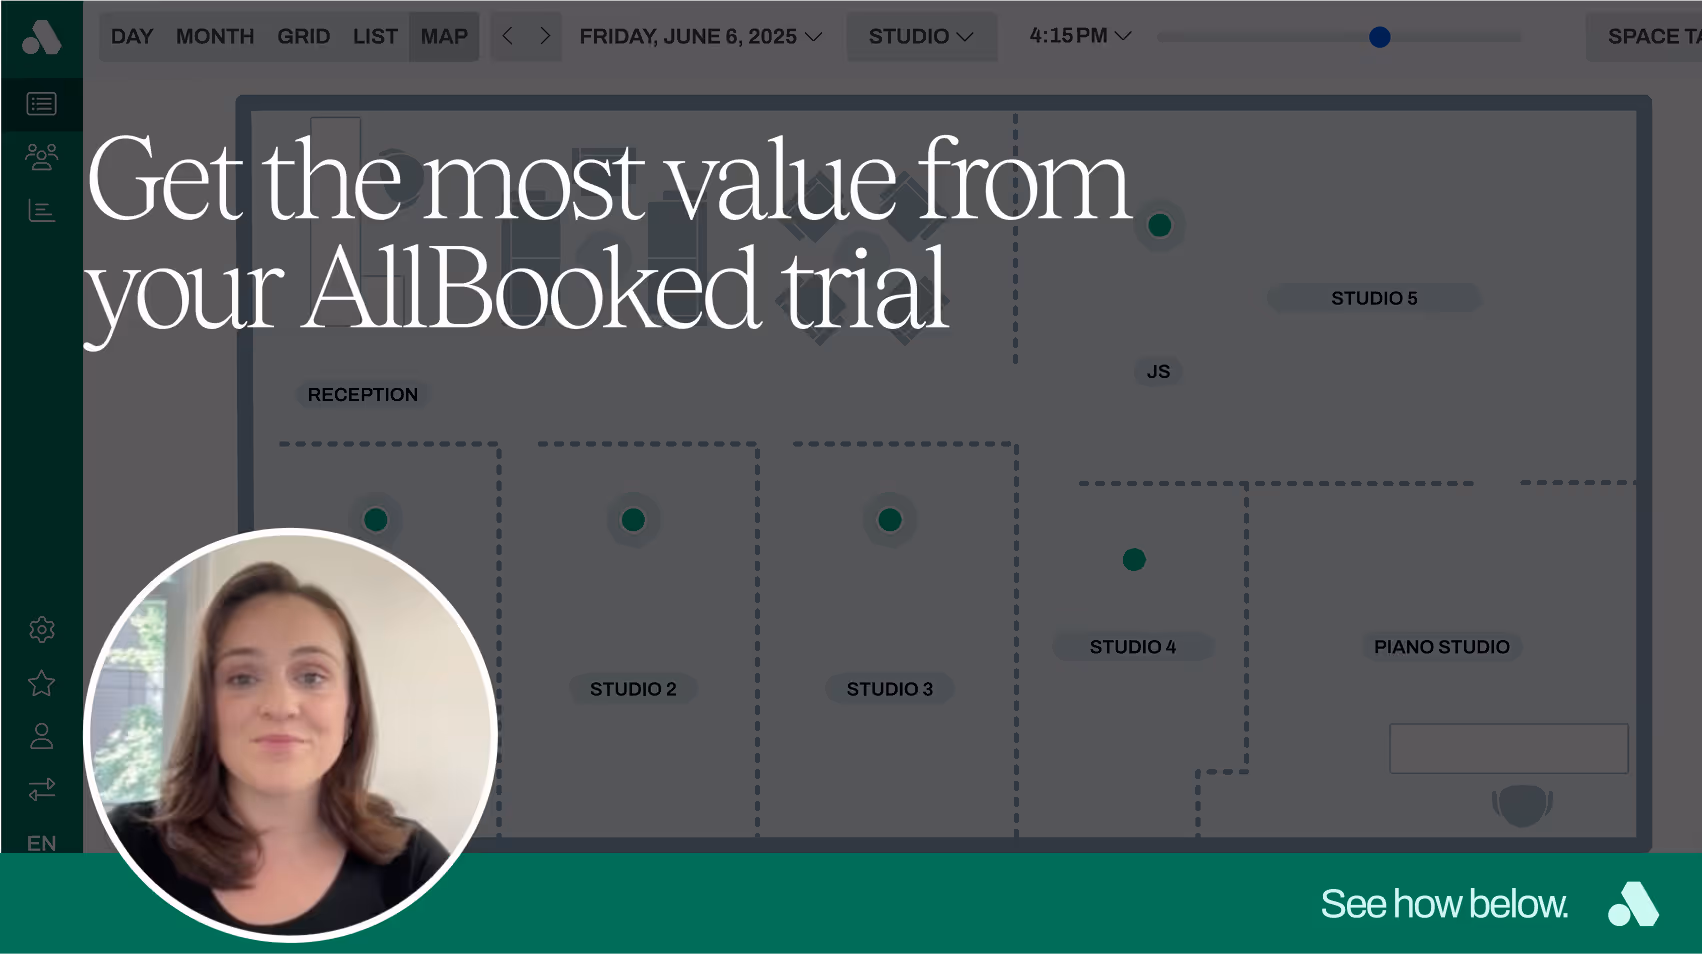
- Map view. Get set up with one today.
- Images
- Space attributes
- Capacity specifications
- Link their card once (with mobile payment options) for fast checkout
FOR YOU
No more questions asked about what’s included in bookings, an easy and adaptable way to price and receive payments for bookings.
- Custom fields for information collection
- Check-in rules so you free up cancelled spaces automatically
- Pricing rules
- Automatic payment processing
How make a test booking:
- Login to your AllBooked account and click the three-person icon at the upper left.
- You’ll notice that you have a test user named “Skedda Fred.” Click on “Your test user - try me!” and take note of the login credentials.
- Close your venue owner AllBooked tab and go to app.skedda.com/account/login and login as Skedda Fred.
- Make a booking as the test user, then close that tab.
- Return to app.skedda.com/account/login and log back in with your own credentials.
- You’ll now see the booking on your calendar.
For more info, check out our full how-to guide.
Set up booking conditions
Want full control over who can book where, when, and for how long? Imagine what that level of control could do for your strategy. Whether you want to restrict coaches to booking on Monday, Wednesday, and Friday mornings, or limit access based on membership type—i.e. giving premium members priority booking during peak hours and limiting standard users to off-peak times—AllBooked’s booking conditions are flexible enough to support and adapt to your strategy.
What are booking conditions?
Booking conditions allow you to limit bookings by space, time of day, day of week, duration, and user type.
Here are 3 examples of the types of conditions you can set, but there’s much more where this came from:
- Enforce a maximum time limit for booking to 3 hours
- Set up booking blocks so users can only book in two-hour intervals
- Block users tagged as “painter” from booking in a “ceramic studio”
How set up booking conditions:
- Login to your AllBooked account and click the gear icon.
- Scroll down on the lefthand side to find “Conditions” and click on it.
- Click “Add condition.”
- Choose from one of our ready-made templates or start with “A basic condition I can tune” and customize to your strategy.
Your progress is saved automatically, so there’s no need to worry about hitting “Save.”
For more info, check out our full how-to guide.
Set up automatic payment processing
Prepare to get hours of your life back with this one. Using AllBooked’s automatic payment processing feature, you’ll never have to remember who has paid for what booking, waste time manually entering data, or spend hours pulling reports together—it’s all done for you. Not only does it make life easier, it helps your bottom line. How? Time has a cost, and with all the tedious admin out of the way, your time is freed up to focus on growing your business in ways that can actually bring in more revenue.
What is automatic payment processing?
Automatic payment processing is a powerful feature within AllBooked that lets you charge your customers for their bookings in one of two ways: either instantly at the time of a booking, or later on—putting you in full control of your pricing strategy. Powered by a native integration with Stripe Connect, you’ll receive faster payouts, reports based on timeframe, and a smooth checkout experience with credit cards or mobile wallets.
How set up payment processing:
- Login to your AllBooked account and click the gear icon.
- Scroll down on the lefthand side to find “Online payments” and click on it.
- Click “Start onboarding.” Follow the prompts on screen to create and connect your Stripe account.
- That’s it. You’ve now successfully set up your venue to collect cash.
For more info, check out our full how-to guide.
Now that you’re officially an AllBooked expert, you’re ready to take things a step further. Check out more ways AllBooked automates your bookings—so you can run your facility hands-off, while bringing in even more revenue.